How to Install Architectural Shingles (Where to Nail, Which Tools to Use, & More)

how to install architectural shingles

Installing architectural shingles can significantly enhance the aesthetic appeal and durability of your roof. These shingles are designed to add a three-dimensional texture and appearance to your roof. They are more durable and have a longer lifespan compared to traditional three-tab shingles. This insightful article will walk you through the steps of how to install architectural shingles, from preparation to completion.

Inside this blog:

  • Why Choose Architectural Shingles?
  • How to Install Roof Shingles: Preparation
  • Installing Underlayment and Ice and Water Shield
  • Installing Flashing

Why Choose Architectural Shingles?

Before diving into the installation process, it’s essential to understand the benefits of architectural shingles:

  1. Durability: Architectural shingles are thicker and more durable than traditional three-tab shingles, offering better resistance to wind and impact.
  2. Aesthetic Appeal: They add a three-dimensional look to your roof, enhancing your home’s curb appeal.
  3. Longevity: They typically come with longer warranties, often ranging from 30 years to a lifetime.
  4. Value: While slightly more expensive, their durability and lifespan make them a cost-effective option in the long run.

Tools and Materials Required

Tools:

  • Roofing nailer or hammer
  • Utility knife
  • Tape measure
  • Chalk line
  • Pry bar
  • Ladder
  • Safety harness
  • Caulk gun

Materials:

  • Architectural shingles
  • Roofing nails
  • Underlayment (felt or synthetic)
  • Ice and water shield
  • Drip edge
  • Ridge cap shingles
  • Starter strip shingles
  • Roofing cement
  • Flashing

How to Install Roof Shingles: Preparation

Before installing architectural shingles, you must prepare. Here’s how:

1. Safety First

Before starting the installation, ensure you have all necessary safety equipment, including a sturdy ladder, safety harness, and gloves. Working on a roof can be dangerous, so taking appropriate safety measures is crucial.

2. Inspect the Roof Deck

Ensure the roof deck is in good condition. Replace any damaged or rotten sections. The deck must be clean, dry, and smooth to provide a stable foundation for the new shingles.

3. Remove Old Shingles

Remove the existing shingles using a pry bar or roofing shovel. Start from the top and work your way down. This process will expose the roof deck. Dispose of the old shingles and nails properly.

4. Install Drip Edge

Install the drip edge along the eaves and rake edges. The drip edge prevents water from getting under the shingles and protects the roof deck edges. Secure it with roofing nails spaced about 12 inches apart.

Installing Underlayment and Ice and Water Shield

  • Install Ice and Water Shield: Apply the ice and water shield along the eaves, valleys, and around any penetrations (vents, chimneys). This self-adhering membrane provides extra protection against ice dams and water infiltration.
  • Lay the Underlayment: Roll out the underlayment, starting from the bottom of the roof and working your way up. Overlap each row by about 2 inches, and secure it with roofing nails or staples. Ensure the underlayment is smooth and free of wrinkles.

Installing Starter Strip Shingles

Starter strip shingles are essential for a secure and waterproof edge. They also provide a straight edge for the first course of shingles.

  • Cut the Starter Strips Cut the tabs off a few three-tab shingles to create the starter strips. Alternatively, you can use pre-made starter strip shingles.
  • Install the Starter Strips Align the starter strips along the eaves, ensuring a 1/2-inch overhang beyond the drip edge. Secure them with roofing nails, placing nails about 3 inches from the edge and spaced about 10 inches apart.

A close view of architectural shingles installed on a roof

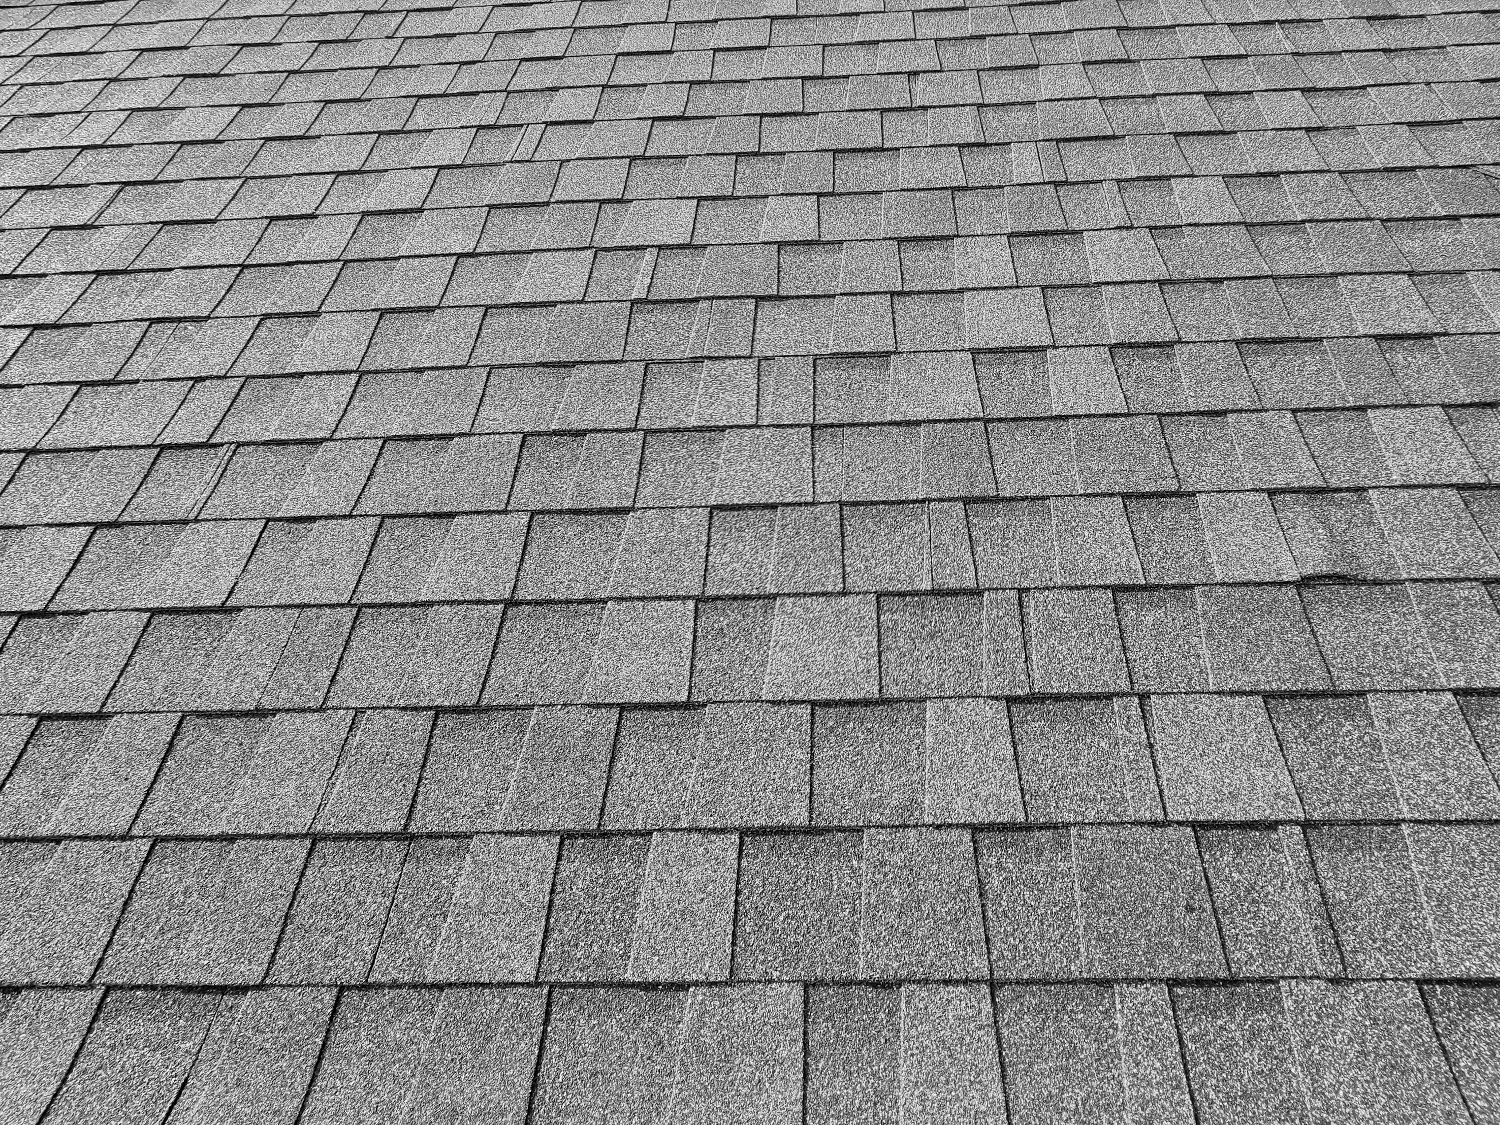
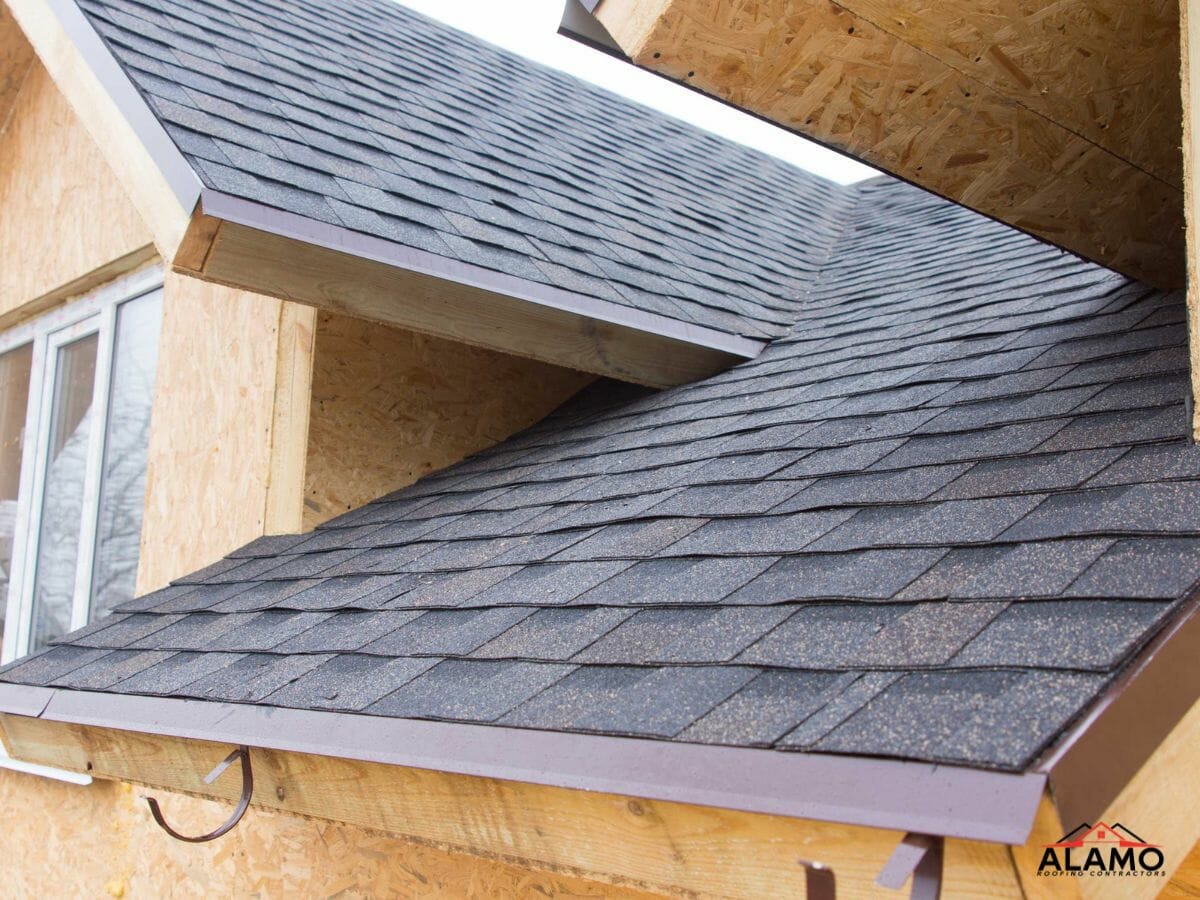
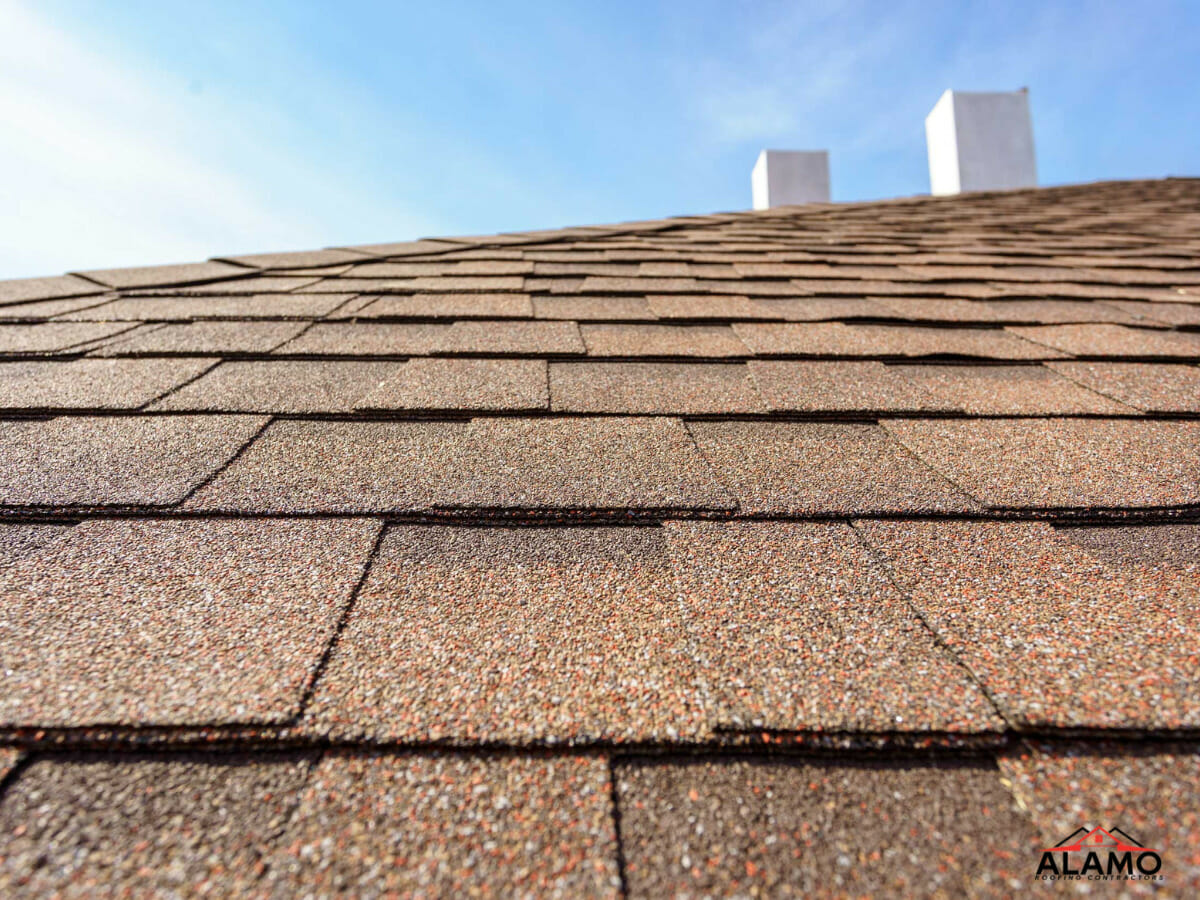
Installing Architectural Shingles

1. Mark the Guideline

Snap a chalk line about 6 inches from the eave to use as a guide for the first row of shingles. This ensures a straight and even start.

2. Lay the First Row

Place the first shingle on the left corner, overhanging the edge by about 1/2 inch. Align the bottom edge with the chalk line. Secure it with roofing nails, placing nails just below the adhesive strip and spaced about 6 inches apart.

3. Stagger the Shingles

Stagger the shingles to avoid lining up the seams, which can lead to leaks. Cut about 6 inches off the first shingle of the second row to stagger the joints. Continue this pattern for subsequent rows.

4. Install Remaining Rows

Continue installing the shingles row by row, ensuring they are straight and properly aligned. Use the adhesive strip and the manufacturer’s guidelines to determine the correct nail placement.

5. Trim the Shingles

At the roof’s end, trim the shingles to fit. Use a utility knife to cut the shingles, ensuring a clean and precise edge.

Installing Flashing

Flashing is essential for waterproofing roof intersections and penetrations. It prevents water from seeping into the roof at vulnerable points. Here’s how to install it:

  1. Install Step Flashing: Step flashing is used around chimneys, dormers, and sidewalls. Place a piece of flashing at each shingle course, ensuring it overlaps the shingle below. Secure it with roofing nails.
  2. Install Valley Flashing: For roof valleys, use metal valley flashing or woven shingles. Ensure the valley flashing is installed before the shingles and overlaps the underlayment.
  3. Install Vent Flashing: Apply flashing around roof vents, securing them with roofing nails and sealing the edges with roofing cement.

Common Mistakes to Avoid

  • Incorrect Nail Placement: Nails placed too high or too low can cause shingles to lift or leak.
  • Insufficient Overlap: Not overlapping shingles enough can create gaps for water to seep through.
  • Skipping Underlayment: Skipping the underlayment can lead to leaks and void the shingle warranty.
  • Improper Flashing Installation: Incorrect flashing installation can lead to water infiltration at roof intersections and penetrations.

We’ll Handle Your Roofing Project

Installing architectural shingles can enhance the beauty and durability of your roof, providing long-lasting protection for your home. However, the process requires careful planning, precise execution, and a thorough understanding of roofing principles. If you’re unsure about tackling this project yourself, reach out to Alamo Roofing for professional roofing services.

At Alamo Roofing, we pride ourselves on delivering exceptional roofing services with a focus on quality, safety, and customer satisfaction. Our contractors have the skills required to handle any roofing project. Whether you need a new roof installation, roof repair, or maintenance services, we are here to help.

3-Tab vs Architectural: How to Choose the Best Shingle for Your Roof

3-Tab vs Architectural: How to Choose the Best Shingle for Your Roof

Your new roof should last for many years, so choosing the right materials is essential. The materials you purchase should meet your needs and expectations in terms of durability, warranty, cost, and aesthetics. Asphalt shingles in Portage have much to offer. They come in an array of colors, textures, and styles. They are also affordable, making them a cost-effective solution for countless homeowners across Portage, IN.

Before you make a buying choice, you may find it helpful to compare the advantages of 3-tab shingles versus architectural shingles. Both are varieties of asphalt shingles, and each type provides different benefits.

Trusted Asphalt Shingle Company in Portage

Aesthetics

These two types of asphalt shingles also differ in their appearance. 3-tab shingles are flat, and they have a single tab shape and size. They are uniform, which gives them a flat look.

Architectural shingles are also referred to as dimensional shingles. This is because they provide a more dimensional look to the roof. Each shingle appears more dimensional because it is; multiple layers of materials adhere to the base. These shingles can be made to resemble cedar shakes, which may add much to a home’s curb appeal. They can also be constructed to simulate the look of slate, but without the added weight that slate would bring to a roof.

Cost

The overall cost of both types of shingles is relative. Although 3-tab shingles may be less expensive to install, they usually need to be repaired and replaced sooner than architectural shingles.

Lifespan

Because of their durability and high-quality composition, architectural shingles generally have a longer lifespan than the 3-tab variety. They stand up better to weather conditions such as heat, snow, ice, rain, and strong winds. Their average lifespan is about 18 to 20 years. However, they may last up to 30 years under optimal conditions. When 3-tab shingles are exposed regularly to severe weather, they may last about 7 to 10 years. In areas with mild climates, they may last as long as 12 to 15 years.

Physical Composition

Because 3-tab shingles and architectural shingles are both asphalt shingles, they are similar in composition. They are both made with asphalt and adhesives, as well as granules for the outermost layer and fiberglass for the backing.

The primary differences between the two are the amount of material used, as well as the overall quality of each product. Architectural shingles are about 50 percent heavier and more substantial than 3-tab shingles. The base mat on an architectural shingle is thicker than that on a 3-tab shingle, making the architectural shingle a sturdier roofing material. Architectural shingles also comprise stronger adhesives, and they have more granules on their top surface. They are also made from asphalt of a finer quality than 3-tab shingles.

Warranty

The warranties that come with these shingles are reflective of their overall value. Since 3-tab shingles have a shorter lifespan, they have shorter warranties. 3-tab shingles generally have warranties of 25 to 30 years. Architectural shingles typically come with warranties of 50 years, and some of them may even have lifetime warranties.

Best asphalt shingle roof contractor in Portage

Wind Ratings

The two shingle types yield different wind resistance ratings. While there may be some subtle variations, 3-tab shingles are generally rated for winds of up to approximately 60 miles per hour (mph). Since architectural shingles are thicker and of higher quality, it makes sense that they have higher wind ratings than 3-tab shingles. They typically are rated for winds of between 80 mph and 120 mph.

Finding the Right Match for Your Home

The suitability of each of these shingle varieties is also relative. 3-tab shingles are more economical in the short term, so they may be ideal for rental properties and budget homes. Architectural shingles may be a better choice for high-end homes, as well as for homeowners who value aesthetics and longevity over lower initial costs.

The team at Alamo Roofing Contractors can help you determine which asphalt shingles might work best for you. Don’t hesitate to give us a call. You’re also welcome to contact us online for further details.

How Much Will a New Asphalt Shingle Roof Cost in Portage?

How Much Will a New Asphalt Shingle Roof Cost in Portage?

You can expect to pay between $4000 and $10,000 for an asphalt shingle roofing replacement in Portage. On average, asphalt shingles in Portage cost $4 to $5.50 per square foot. The total cost of your asphalt roofing replacement project depends on the size of your home, the type of asphalt shingles you install, and the labor costs of your trusted Portage roofing company.

If you’re looking for exceptional asphalt shingle roofing services for your Portage home, give Alamo Roofing Contractors a call today.

trusted Portage, IN asphalt shingle roofing contractor

The Cost Of Asphalt Shingle Roofing In Portage

Asphalt shingle rooftops have a lifespan of about 15 to 30 years. How long they last are mainly dependent on the type of shingles you choose to install, how accurately they were installed, the quality of your maintenance plan, and the environment in which you live.

If your asphalt roofing system has reached the end of its life, this is how much you can expect to pay:

3-Tab Shingles

A 3-tab shingle rooftop costs about $4000 to $15,000. You can expect to pay $4 to $4.50 per square foot.

1,000 sf. roof / 10 squares = $4000 to $4,500
1,500 sf .roof / 15 squares = $6,500 to $6,750
2,000 sf. roof / 20 squares = $8000 to $9000
2,500 sf. roof / 25 squares = $10,000 to $11,250
3,000 sf. roof / 30 squares = $12,000 to $13,500
3,500 sf. roof / 35 squares = $14,000 to $15,750

Architectural Shingles

An architectural shingle rooftop costs about $5000 to $19,000. You can expect to pay $5 to $5.50 per square foot.

1,000 sf. roof / 10 squares = $5000 to $5,500
1,500 sf. roof / 15 squares = $7,500 to $8,250
2,000 sf. roof / 20 squares = $10,000 to $11,000
2,500 sf. roof / 25 squares = $12,500 to 13,750
3,000 sf. roof / 30 squares = $15,000 to $16,500
3,500 sf. roof / 35 squares = $17,500 to $19,250

Request a quote here (link) to receive a more accurate estimate for your asphalt shingle roof installation.

Here you’ll find some details on the types of asphalt shingles that you can install on your rooftop:

Three-tab Asphalt Shingles

These lightweight and energy-efficient shingles are the most common and easy to maintain and are named for the cutout form that gives them a distinct three-piece look. With proper care, three-tab shingles can last up to 20 years.

Architectural Asphalt Shingles

For the longest-lasting shingles, and for the home where curb appeal matters most, architectural shingles are a great choice. With a wider range of color options, dimension-adding laminated styles, and reflective versions to reduce summer cooling costs, you can enjoy the look and feel of these shingles for up to 50 years.

Luxury Asphalt Shingles

For those who value both style and cost, luxury shingles are a worthwhile investment. Cost-effective premium versions of asphalt shingle roofing, the luxury style is designed to emulate high-end cedar or slate roofing with the benefit of costing only 1/10th of the cost of cedar shingles.

trusted Portage, IN asphalt shingle roof replacement and repair

The Pros and Cons of A New Asphalt Shingle Roof

We understand that the roof you choose for your home or business is an important decision. Below you’ll find some points to consider to inform your choice better.

Pros of Asphalt Shingles

  • Affordability: Asphalt is the go-to answer for homeowners on a budget. With proper installation and maintenance, a quality roof doesn’t have to break the bank, especially with our financing options.
  • Color Variety: From neutrals to statement colors, there are a variety of options to choose from. Based on your budget, you can even choose asphalt shingle roofing that emulates wood or slate.
  • Simple Installation: Asphalt shingle roof repair is simple and the most cost-effective. Should the job require it, new shingles can be installed on top of existing shingles with little difficulty. Asphalt shingles last a lifespan of up to 20 years with proper maintenance.

Cons of Asphalt Shingles

  • Not Environmentally Friendly: Asphalt shingles are non-recyclable, due largely to the harmful emissions they release. As the shortest roof lifespan, asphalt shingles contribute a lot of waste.
  • Susceptible to Weather: Wide-ranging temperatures and extreme weather conditions can cause cracks and warping of some asphalt shingle types.

Have questions about whether or not an asphalt shingle roof is right for your home? Are you ready to start your Great Falls home’s new asphalt shingle roof installation? Don’t delay, give Alamo Roofing Contractors a call today!

The Typical Cost Of Asphalt Roofing In Portage

The Typical Cost Of Asphalt Roofing In Portage

You can expect to pay between $4000 and $10,000 for an asphalt shingle roofing replacement in Portage. On average, asphalt shingles in Portage cost $4 to $5.50 per square foot. The total cost of your asphalt roofing replacement project depends on the size of your home, the type of asphalt shingles you install, and the labor costs of your favorite Portage roofing company

If you’re looking for exceptional asphalt shingle roofing services for your Portage home, give Alamo Roofing Contractors a call today. 

The Cost Of Asphalt Shingle Roofing In Portage

Asphalt shingle rooftops have a lifespan of about 15 to 30 years. How long they last are mainly dependent on the type of shingles you choose to install, how accurately they were installed, the quality of your maintenance plan, and the environment in which you live. 

If your asphalt roofing system has reached the end of its life, this is how much you can expect to pay: 

3-Tab Shingles

A 3-tab shingle rooftop costs about $4000 to $15,000. You can expect to pay $4 to $4.50 per square foot. 

  • 1,000 sf roof / 10 squares = $4000 to $4,500
  • 1,500 sf roof / 15 squares = $6,500 to $6,750
  • 2,000 sf roof / 20 squares = $8000 to $9000
  • 2,500 sf roof / 25 squares = $10,000 to $11,250
  • 3,000 sf roof / 30 squares = $12,000 to $13,500
  • 3,500 sf roof / 35 squares = $14,000 to $15,750

Architectural Shingles

An architectural shingle rooftop costs about $5000 to $19,000. You can expect to pay $5 to $5.50 per square foot. 

  • 1,000 sf roof / 10 squares = $5000 to $5,500
  • 1,500 sf roof / 15 squares = $7,500 to $8,250
  • 2,000 sf roof / 20 squares = $10,000 to $11,000
  • 2,500 sf roof / 25 squares = $12,500 to 13,750
  • 3,000 sf roof / 30 squares = $15,000 to $16,500
  • 3,500 sf roof / 35 squares = $17,500 to $19,250

Request a quote here (link) to receive a more accurate estimate for your roofing replacement project.

If you’re ready to start your Portage home’s asphalt roofing replacement project, give Alamo Roofing Contractors a call today!

(219) 224-2636