by Frank Dixon | Jun 24, 2024 | Roof Leak

A leaking roof is a serious issue that can cause significant damage to your home. Understanding the cost of roof leak repairs can help homeowners budget for these necessary fixes and make the right decisions. Below, we’ll cover the factors influencing general roof leak repair cost and much more. By the end of this article, you’ll know exactly how much you can expect to spend to fix a leaky roof.
Inside this blog:
- Factors Influencing Roof Leak Repair Costs
- Common Types of Roof Leaks and Their Costs
- Preventing Future Roof Leaks
Factors Influencing Roof Leak Repair Costs
The cost of repairing a roof leak can vary widely, depending on several factors. Here are the primary considerations:
1. Type of Roof
The type of roof on your home significantly impacts the cost of repairs. Different materials and roof styles have varying levels of difficulty and cost associated with repair work.
- Asphalt Shingles: These are the most common roofing materials and generally the least expensive to repair.
- Metal Roofing: Metal roofs are durable but can be more expensive to repair due to the cost of materials and the specialized skills required.
- Tile Roofing: Tile roofs are costly to repair because tiles are fragile and require careful handling.
- Flat Roofs: Repairs on flat roofs can vary depending on the type of material used, such as rubber, PVC, or built-up roofing.
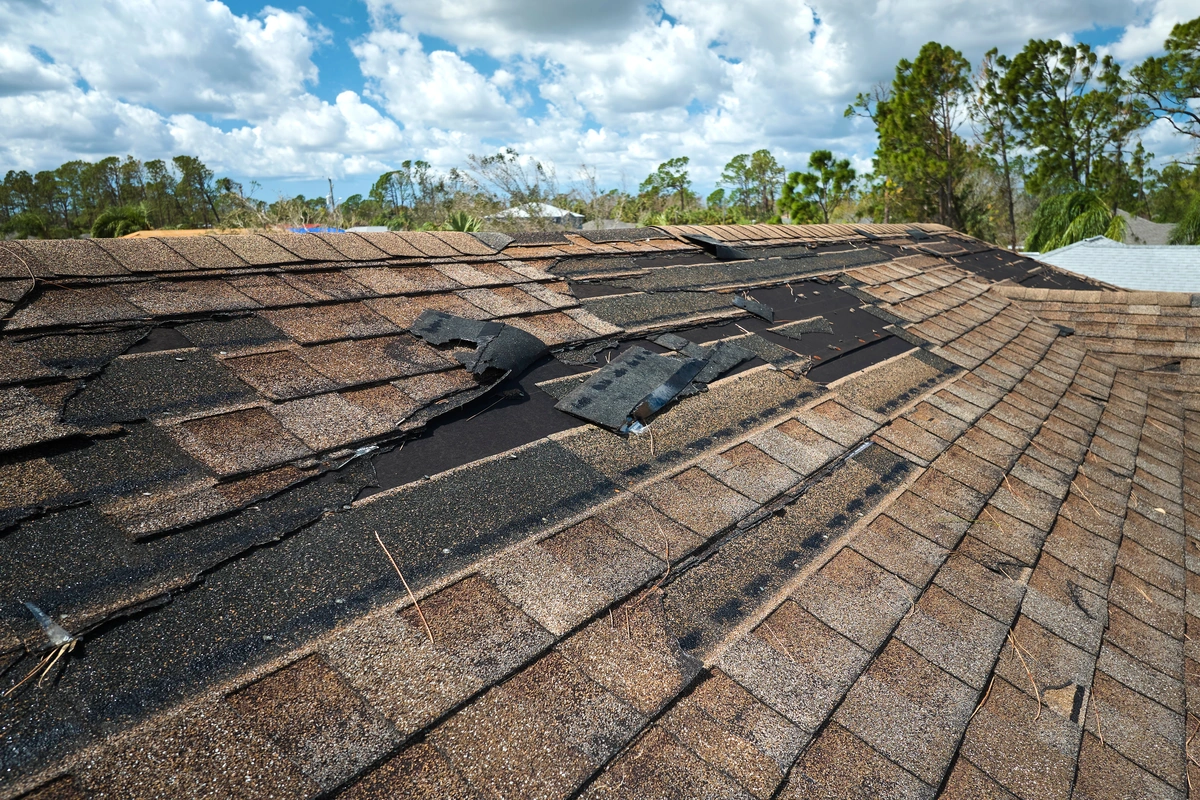
2. Extent of Damage
The severity and extent of the roof damage will greatly influence repair costs. A minor leak that affects only a small area will cost less to repair than extensive damage that impacts a large portion of the roof.
- Minor Leaks: Typically involve patching up small holes or replacing a few shingles.
- Moderate Damage: Might include replacing larger sections of the roof or repairing multiple leaks.
- Severe Damage: Extensive damage may require significant repairs or partial roof replacement.
3. Location of the Leak
The location of the leak can also affect the cost. Leaks around chimneys, skylights, or valleys often require more labor-intensive repairs and additional materials like flashing or sealant.
- Eaves and Ridges: Generally easier to access and repair.
- Valleys and Flashing: More complex and may require specialized work.
- Chimneys and Skylights: Often need custom flashing or sealing, increasing labor costs.
4. Roof Accessibility
The ease of access to your roof will impact labor costs. Steep or high roofs that require special equipment or safety measures will generally cost more to repair.
- Single-Story Homes: Easier and less expensive to access.
- Multi-Story Homes: May require additional safety equipment and longer ladders, increasing costs.
- Steep Roofs: Require more safety measures, harnesses, and potentially more labor hours.
5. Labor Costs
Labor costs can vary based on the complexity of the repair and the region in which you live. Professional roofing contractors typically charge per hour, and rates can vary widely.
- Average Hourly Rates: Can range from $50 to $150 per hour, depending on the region and the contractor’s experience.
- Emergency Repairs: Often come with higher labor costs due to the urgency and potential after-hours work.
6. Materials and Supplies
The cost of materials required for the repair, such as shingles, underlayment, flashing, sealants, and other supplies, will also affect the overall cost.
- Quality of Materials: Higher-quality materials will cost more, but may offer better durability and a longer lifespan.
- Quantity: The amount of materials needed will depend on the extent of the damage.
Common Types of Roof Leaks and Their Costs
Understanding the typical causes of roof leaks can help homeowners estimate potential repair costs. Here are some common types of roof leaks and the associated repair costs:
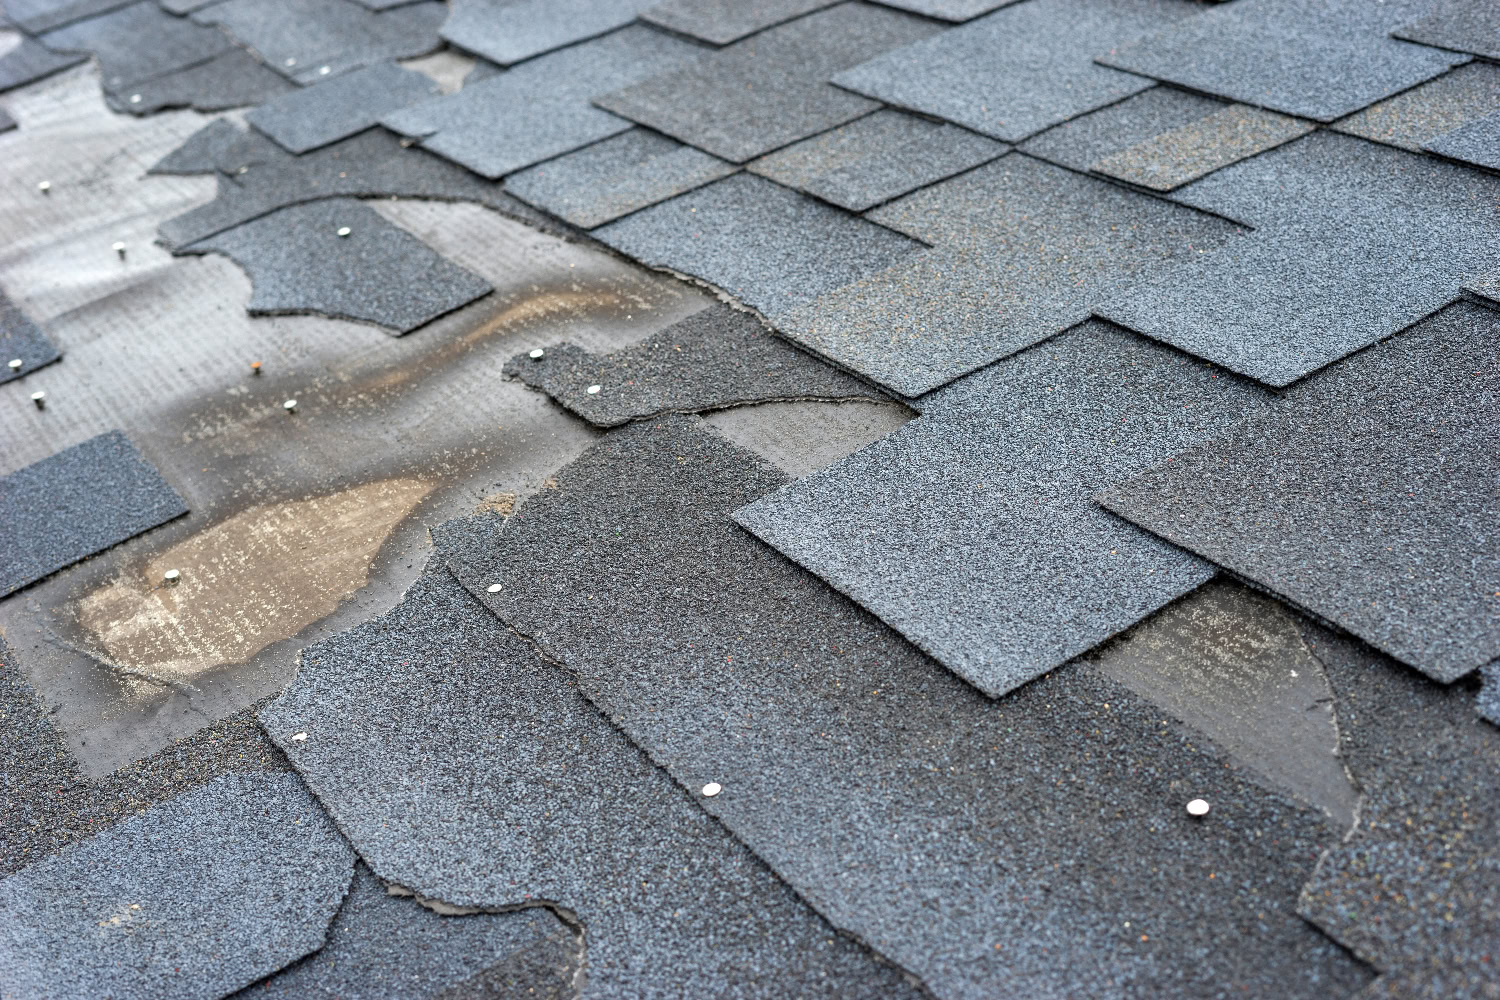
1. Shingle Damage
Cause: High winds, hail, or aging can cause shingles to crack, curl, or blow off, leading to leaks.
Repair Cost: Replacing a few shingles typically costs between $150 and $300. Extensive shingle damage can cost $500 or more.
2. Flashing Leaks
Cause: Improper installation or deterioration of flashing around chimneys, vents, and skylights.
Repair Cost: Flashing repair costs can range from $200 to $500, depending on the complexity and location of the flashing.
3. Gutter Issues
Cause: Clogged or damaged gutters can cause water to overflow and seep into the roof, leading to leaks.
Repair Cost: Cleaning gutters generally costs $100 to $200. Repairing or replacing damaged gutters can cost $300 to $600.
4. Vent Boot Leaks
Cause: Cracked or damaged vent boots can allow water to penetrate around roof vents.
Repair Cost: Replacing a vent boot typically costs between $200 and $400.
5. Skylight Leaks
Cause: Improper sealing or cracked skylights can lead to leaks.
Repair Cost: Skylight repairs can range from $300 to $800, depending on the extent of the damage.
6. Valley Leaks
Cause: Valleys, where two roof slopes meet, are prone to leaks if the shingles are damaged or improperly installed.
Repair Cost: Valley repairs can cost between $300 and $1,000, depending on the length and severity of the damage.
Preventing Future Roof Leaks
Preventing future leaks involves regular maintenance and timely repairs. Here are some tips to keep your roof in good condition:
- Regular Inspections: Conduct regular roof inspections, especially after severe weather, to catch potential issues early.
- Keep Gutters Clean: Clean gutters regularly to prevent water overflow and damage to the roof.
- Cut Overhanging Limbs: Trim trees and branches that overhang the roof to prevent damage from falling debris.
- Ensure Proper Ventilation: Proper attic ventilation can prevent heat and moisture buildup, reducing the risk of damage to shingles and underlayment.
- Address Minor Issues Quickly: Fix small problems as soon as they arise to prevent them from becoming larger, more expensive repairs.
Contact Us for Professional Roofing Services
Dealing with a roof leak can be stressful and costly. At Alamo Roofing, we understand the importance of a reliable, efficient roof repair service. Our team of experienced professionals is ready to assist you with any roofing issues, from minor leaks to major repairs. If you suspect a leak in your roof, don’t hesitate to reach out to us.
by Frank Dixon | Jan 20, 2024 | Roof Leak, Storm Damage
You walk into your home after a long day, only to discover a puddle on your living room floor. Yikes! Panic sets in as you realize you have a water leak. It’s a situation no homeowner wants to face, but it happens. When it does, knowing how to navigate the insurance claim process can make all the difference. In this guide, we’ll walk you through the steps to make a successful water leak insurance claim.
Inside this blog:
- Pro tips for how to make a successful water leak insurance claim in 2024
- Tips for how to understand your claim
- How to negotiate like a boss
- How to get your damaged roof repaired
Keep reading to discover all you need to know about water leak insurance claims and become an empowered homeowner!
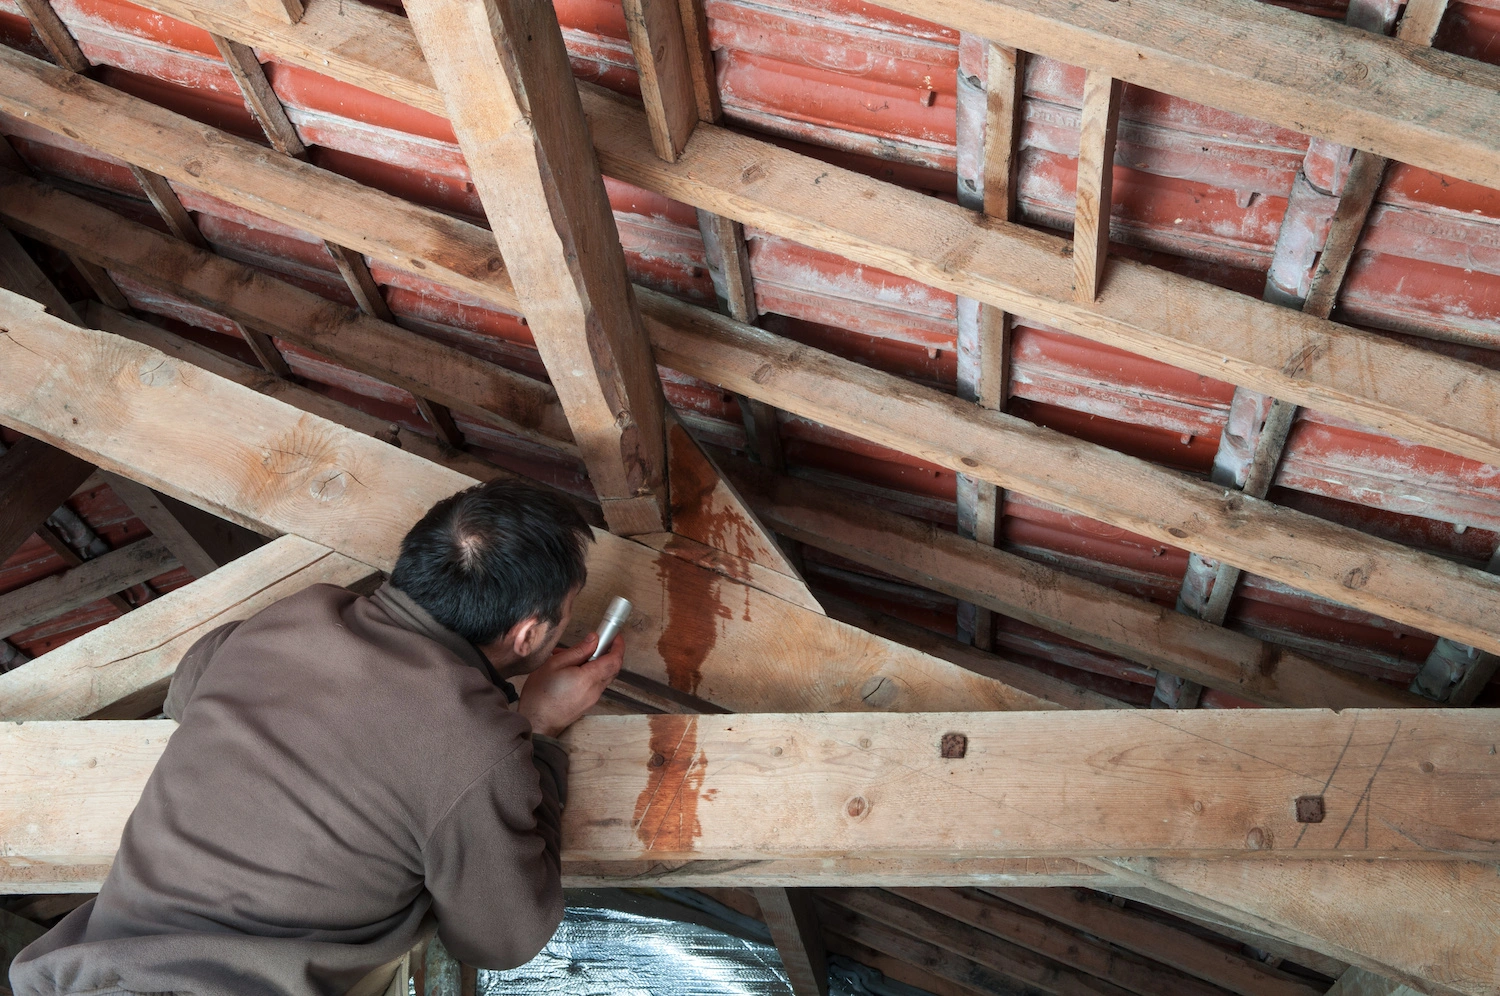
Assess the Damage and Identify the Source 💧
The first step to making a successful water leak insurance claim is understanding the extent of the damage and identifying the source of the leak. Here’s what you should do:
- Safety First: Ensure your safety and that of your family. If the leak poses electrical hazards or structural risks, vacate the premises until it’s safe to return.
- Stop the Leak: If possible, stop the source of the leak to prevent further damage. This might involve turning off the main water supply or shutting off a specific valve.
- Document the Damage: Take clear photos and videos of the damage. This visual evidence will be essential when filing your claim.
- Identify the Cause: Determine what caused the leak. Was it a burst pipe, a faulty appliance, a roof leak, or roof storm damage? Understanding the cause will help when communicating with your insurance company.
Contact Your Insurance Company 📞
Now that you’ve assessed the damage, it’s time to contact your insurance company. Here are the key steps:
- Review Your Policy: Before you make the call, review your insurance policy to understand what’s covered and what’s not. Pay attention to any deductibles or limits on coverage.
- Report Promptly: Contact your insurance company as soon as possible. Many policies require you to report a claim within a certain timeframe.
- Provide Detailed Information: Be ready to provide detailed information about the incident, including the date, time, and cause of the water leak.
- Ask Questions: Don’t hesitate to ask questions about the claims process, what to expect, and the timeline for resolution.
Mitigate Further Damage 🛠️
While waiting for your insurance company to process your claim, it’s essential to take steps to prevent further damage. Here’s what you can do:
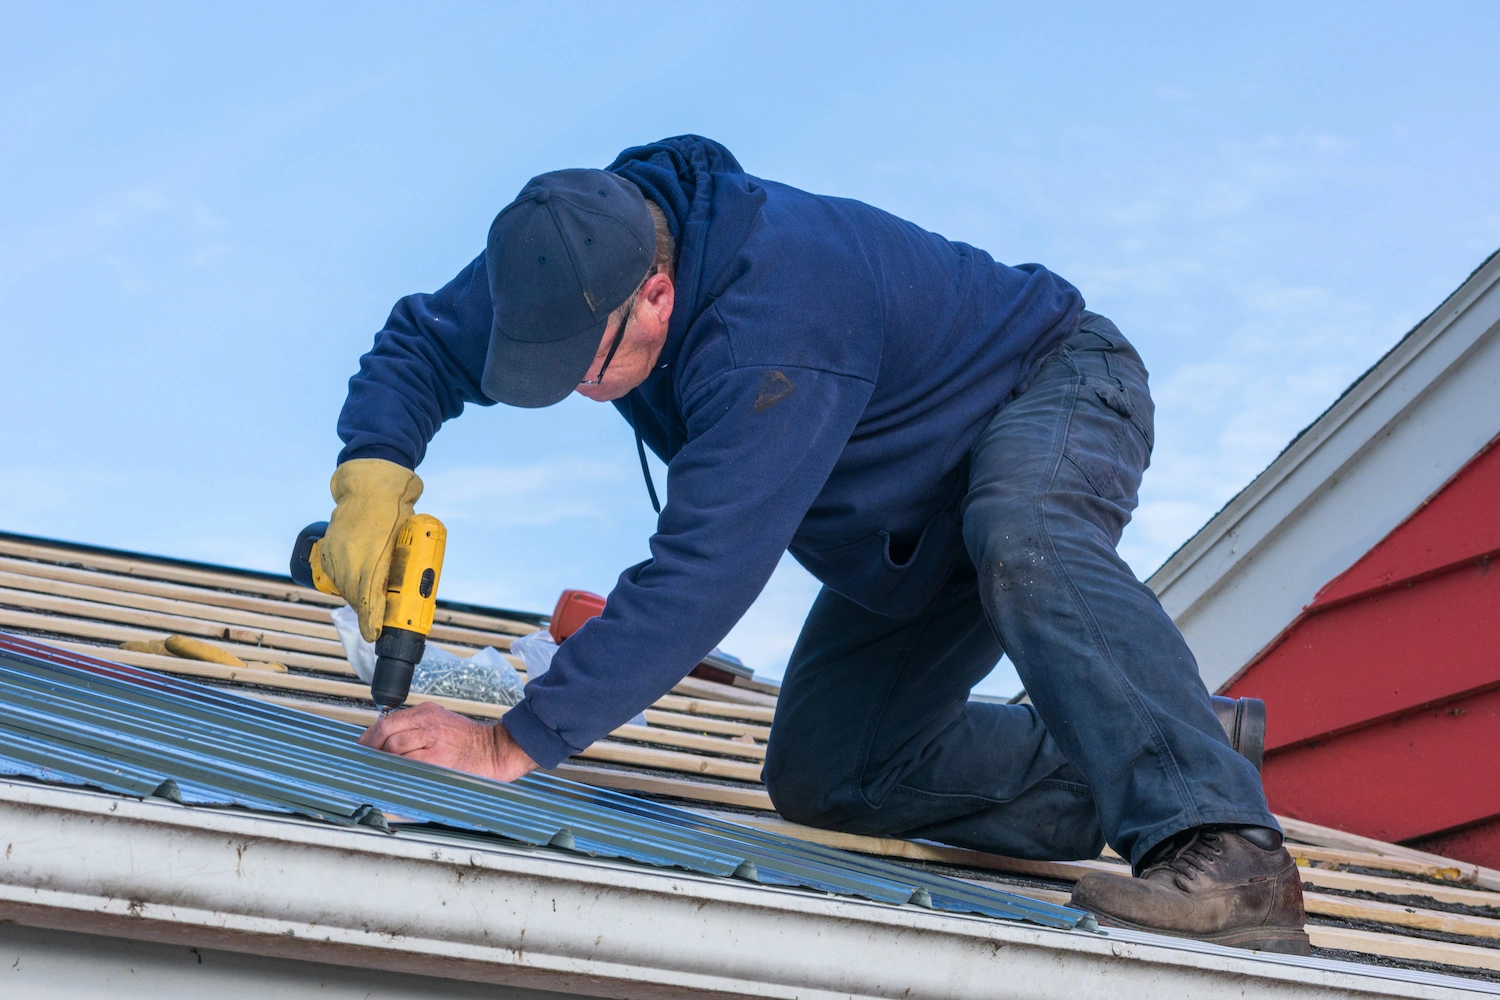
- Temporary Repairs: If it’s safe and within your skillset, make temporary repairs to stop additional water from entering your home. This may involve patching a roof or sealing a leaky pipe.
- Document Mitigation Efforts: Keep records of any steps you take to mitigate damage. This shows your proactive approach to minimizing the claim’s cost.
- Keep Damaged Items: Don’t dispose of damaged items until your insurance adjuster has assessed them. They may need to inspect and document the damage.
Understand Your Coverage 💡
Understanding your insurance coverage is crucial to a successful claim. Policies can vary widely, so be aware of the following:
- Coverage Types: Determine whether your policy covers the type of water leak you’ve experienced. For instance, some policies may cover burst pipes but not flood damage.
- Deductibles: Know your deductible amount. This is the portion of the claim you’re responsible for paying out of pocket.
- Coverage Limits: Be aware of any coverage limits on your policy. Some policies cap coverage for specific types of damage.
- Exclusions: Familiarize yourself with any exclusions in your policy. Some common exclusions include damage from neglected maintenance or gradual water damage.
Document Everything 📝
A successful water leak insurance claim hinges on documentation. Here’s how to do it right:
- Keep a Claim Journal: Create a claim journal to record all interactions with your insurance company. Note the date, time, people involved, and details of the conversation.
- Save Correspondence: Keep copies of all emails, letters, or forms exchanged with your insurer. This includes your initial claim report and any follow-up communication.
- Receipts and Invoices: Save receipts and invoices for repairs and expenses related to the leak. These will be crucial for reimbursement.
Cooperate with the Adjuster 🧐

Once you’ve filed your claim, your insurance company will assign an adjuster to assess the damage. Here’s how to work effectively with them:
- Be Available: Make yourself available for the adjuster’s visit. Be punctual and cooperative during the inspection.
- Provide Documentation: Share all documentation and evidence you’ve collected, including photos, videos, and repair estimates.
- Ask Questions: Don’t hesitate to ask the adjuster questions about their assessment and the next steps in the process.
- Review the Adjuster’s Report: Carefully review the adjuster’s report to ensure it accurately reflects the damage and the necessary repairs.
Negotiate Fairly and Persistently
In some cases, there may be disagreements between you and your insurance company about the settlement amount. Here’s how to handle negotiations:
- Know Your Rights: Familiarize yourself with your rights as a policyholder. Insurance regulations can vary by state.
- Get Multiple Estimates: If you believe the initial settlement offer is too low, obtain multiple repair estimates from reputable contractors. These estimates can support your case.
- Appeal if Necessary: If negotiations stall, don’t be afraid to escalate the issue or request a review by a higher authority within the insurance company.
- Consider Mediation: In cases of unresolved disputes, mediation may be an option to reach a fair settlement.
- Seek Legal Advice: If all else fails, consult with an attorney experienced in insurance claims to explore your legal options.
Water Leak Insurance Claim: Be an Empowered Homeowner
Dealing with a water leak and the subsequent insurance claim can be stressful, but being prepared and informed can help you navigate the process smoothly. Remember to communicate clearly with your insurance company, document everything, and persistently pursue a fair settlement. With these steps, you’ll be on your way to resolving the issue and restoring your home to its pre-leak condition. Stay dry and good luck!
Contact our team of expert roofers at Alamo Roofing today and we’ll make sure your next roofing project goes as smoothly as possible. Let’s kickoff your next endeavor with a free estimate!
by Frank Dixon | Jan 14, 2024 | Roof Leak
Roof leaks can be a homeowner’s nightmare, causing damage to your home’s interior and potentially leading to costly repairs. But fear not! In this comprehensive DIY guide, we’ll walk you through 11 essential steps to tackle roof leak repairs like a pro. So, grab your tool belt and let’s get started on protecting your home from those pesky leaks!
What’s in this article:
Ready to learn how to tackle roof leak repairs like a boss?! Start reading!
Step 1: Stay Safe ⛑️
Before you begin any DIY repairs for a leaky roof, prioritize safety. Here’s what you should do:
- Wear Appropriate Gear: Put on sturdy work boots, safety glasses, and a safety harness if you’ll be working on a steep roof.
- Choose a Dry Day: Avoid working on a wet or rainy day to prevent slippery conditions.
- Use a Stable Ladder: Ensure your ladder is secure and on level ground before climbing up.
Step 2: Locate the Leak💧
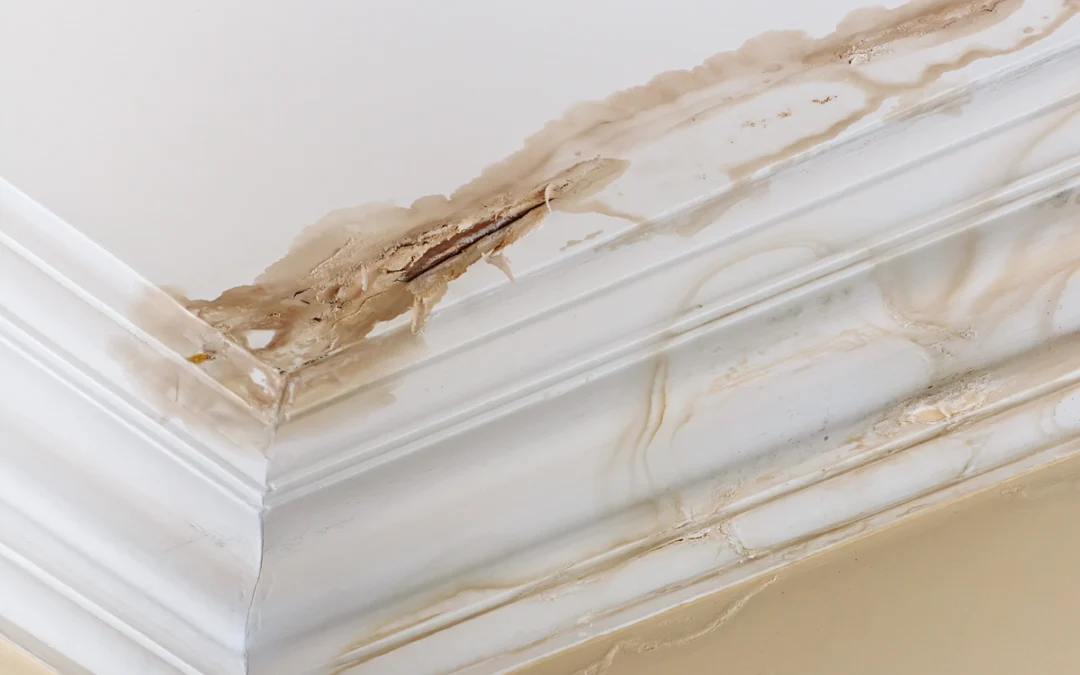
Identifying the source of the leak is crucial. Look for water stains on the ceiling, damp spots, or signs of mold or mildew. Trace these back to their point of origin on the roof to pinpoint the leak’s location.
Step 3: Gather Your Tools and Materials 🧰
You’ll need a few essential tools and materials for this DIY leaking roof project.
- Roofing Cement: For sealing leaks.
- Roofing Nails: To secure loose shingles.
- Replacement Shingles: If damaged shingles need replacing.
- Roofing Tar: An alternative to roofing cement.
- Putty Knife: For applying roofing cement or tar.
- Caulk Gun: If you’re using roofing tar.
- Roofing Tape: A waterproof tape for temporary fixes.
- Safety Gear: As mentioned in Step 1.
- Utility Knife: For trimming materials if necessary.
Step 4: Clear Debris from the Roof 🍂
Remove any leaves, branches, or debris from the roof surface to ensure a clean and clear workspace.
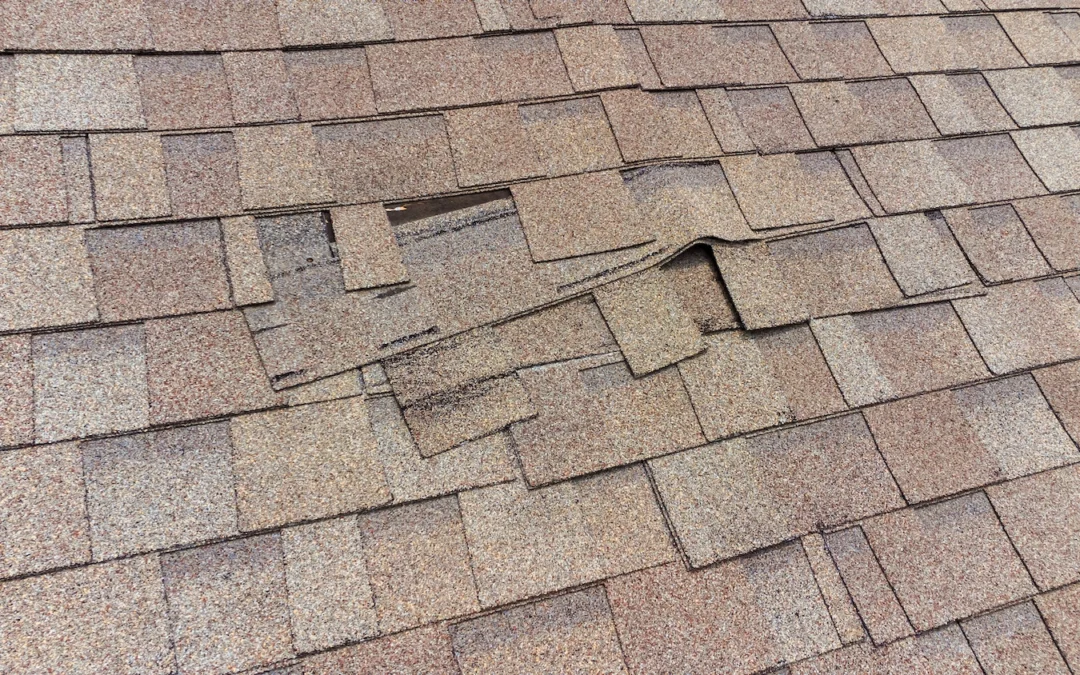
Step 5: Inspect the Shingles 🔎
Examine the shingles around the leak area. Look for signs of damage, such as curling, cracks, or missing shingles. These may need to be repaired or replaced.
Step 6: Fix Curling Shingles ⤴️
If you encounter curling shingles, you can often reattach them using roofing cement. Apply a generous amount of roofing cement under the curled shingle, press it down, and secure it in place with roofing nails.
Step 7: Seal Small Holes and Cracks 🕳️
For small holes or cracks in the roof, roofing cement or roofing tar can be used. Apply the cement or tar over the damaged area and smooth it out with a putty knife or caulk gun. Make sure to create a watertight seal.
Step 8: Replace Damaged Shingles 🏚️
If you find damaged shingles, it’s best to replace them. Carefully remove the damaged shingle by lifting the edges and removing the roofing nails. Slide a new shingle into place, secure it with roofing nails, and seal the edges with roofing cement or tar.
Step 9: Address Flashing Issues 🪚
Flashing is the metal or other material that seals joints around roof penetrations like chimneys, vents, and skylights. Inspect the flashing for signs of damage or separation. If you find issues, use roofing cement or roofing tar to reseal and secure the flashing in place.
Step 10: Apply Roofing Tape for Temporary Repairs 🩹
If you need a quick, temporary fix while waiting for more suitable weather to make permanent repairs, roofing tape can be a handy solution. Apply the tape over the leak area, pressing it down firmly to create a watertight seal. This should hold until you can make proper repairs.
Step 11: Monitor and Perform Follow-Up 🧐
After making your DIY repairs, monitor the area for a few weeks to ensure the leak has been successfully addressed. Check for any signs of moisture or new leaks. If problems persist or worsen, it’s time to consult a professional roofer for a more extensive evaluation and repair.
When to Call a Professional Roofer 📞
While DIY roof leak repairs can solve many issues, there are situations where it’s best to seek help from a professional roofing contractor:
Extensive Damage
If the damage is widespread, affecting a large portion of your roof, or if multiple leaks are present, it’s time to call in a pro. You may need some major repairs or even a roof replacement.
Structural Issues
If you suspect damage to the roof’s underlying structure or support beams, professional assessment and repair are essential.
Electrical Hazards
If the leak poses electrical hazards due to water contact with wiring or fixtures, professionals should handle it.
Steep or Complex Roofs
Working on steep or intricate roofs can be dangerous, and professional roofers have the experience and equipment to handle such projects safely.
Warranty Concerns
If your roof is still under warranty, DIY repairs may void the warranty. Professional repairs can ensure your warranty remains valid.
Tackle Roof Leaks Like a Pro 🔧
While roof leaks can be a headache for homeowners, following these 11 steps for a DIY roof leak repair can help you address minor issues and prevent further damage.
However, always prioritize safety and know when it’s time to call a professional roofer for more extensive repairs or complex situations. With the right tools, materials, and a bit of know-how, you can protect your home and ensure it stays dry, no matter what the weather brings.
Contact our roofing team at Alamo Roofing Contractors today and experience flexible financing options from the experts you can trust. We’ll make sure your next roofing project goes smoothly–starting with a free project estimate!