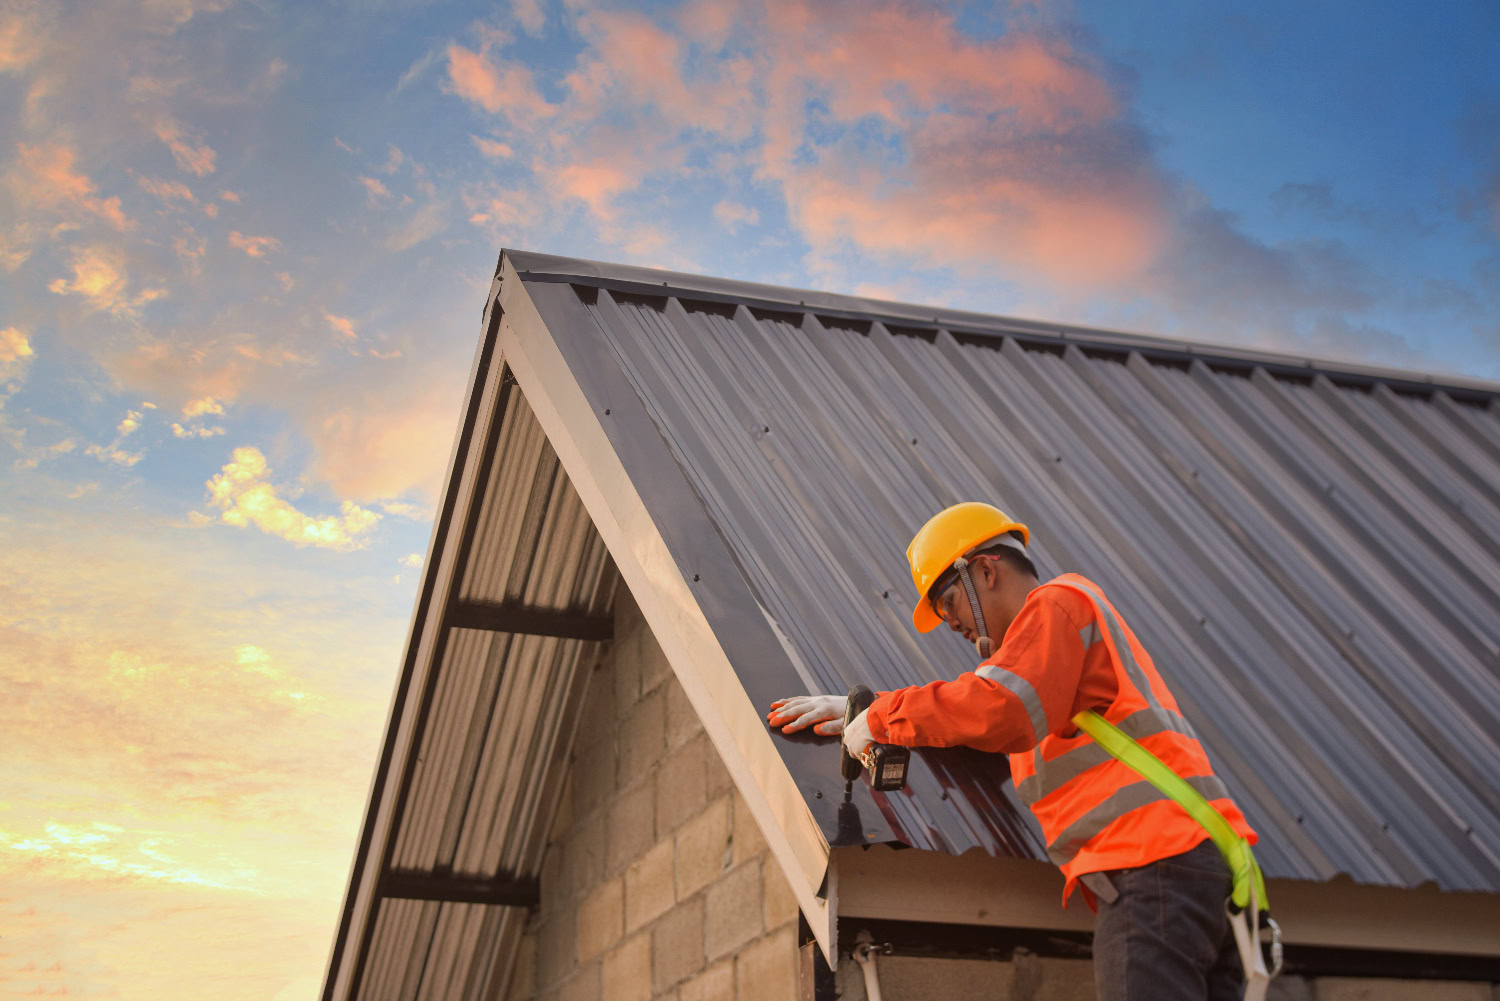
Metal roofing is gaining popularity due to its durability, energy efficiency, and aesthetic appeal. Installing a metal roof can be a complex process, but with the right tools, materials, and a step-by-step guide, you can achieve professional results. This helpful article will walk you through the entire process of how to install a metal roof, from preparation to the final touches.
Inside this blog:
- Types of Metal Roofs
- Preparation for Installation
- The Installation Process
Types of Metal Roofs
Before diving into the installation process, it’s essential to understand the various types of metal roofing available:
- Standing Seam Metal Roofs: These are characterized by raised seams that interlock to create a sleek, modern look. They are highly durable and offer excellent weather resistance.
- Metal Shingles: Mimicking the appearance of traditional shingles, metal shingles provide the benefits of metal roofing with a more classic aesthetic.
- Corrugated Metal Roofs: Featuring a wavy pattern, corrugated metal roofs are often used in agricultural and industrial buildings but can also be applied to residential homes for a rustic look.
- Stone-Coated Metal Roofs: These roofs have a metal base with a stone coating, offering the durability of metal with the texture and appearance of traditional shingles or tiles.
Measuring and Preparing Your Roof
Before purchasing materials, accurately measure your roof. You’ll need to calculate the roof’s square footage to determine how much material to buy. Here’s a simple way to measure your roof:
- Measure the Length and Width: Measure each section of your roof, noting the length and width.
- Calculate the Area: Multiply the length by the width to get the area of each section.
- Add Extra for Waste: Add an additional 10-15% to your total to account for waste and overlapping.
Tools Required for Installing Metal Roof Panels
Tools
- Tape Measure
- Chalk Line
- Tin Snips
- Metal Cutting Shears
- Drill/Driver
- Roofing Nailer
- Caulking Gun
- Ladder
- Safety Harness
Materials
- Metal Roofing Panels
- Metal Trim (ridge cap, eave trim, valley flashing)
- Metal Screws with Rubber Washers
- Underlayment (synthetic or felt)
- Roof Vents (if needed)
- Closure Strips
- Sealant
Preparation for Installation
Before you begin the installation process, make sure that you have all of the necessary safety equipment. This includes gloves, safety glasses, a hard hat, and a safety harness if you are working on a steep roof.
Remove Old Roofing
If there is an existing roof, it needs to be removed. Metal roofing can sometimes be installed over existing shingles, but it is generally recommended to remove the old roof to inspect the roof deck for damage.
- Remove Shingles: Start at the peak and work your way down. Use a roofing shovel or pitchfork to pry the shingles off.
- Inspect Roof Deck: Check for rot or damage. Replace any damaged sections with new plywood.
- Clean Up: Remove all nails and debris from the roof deck.
Install Underlayment
Underlayment provides an additional layer of protection against moisture. Synthetic underlayment is recommended for metal roofs due to its durability and ease of installation.
- Roll Out Underlayment: Starting at the eave, roll out the underlayment horizontally across the roof deck.
- Overlap Rows: Overlap each row by at least 6 inches to ensure complete coverage.
- Secure Underlayment: Use roofing nails or staples to secure the underlayment to the roof deck.
The Installation Process
Installing a metal roof is a complex task, so it’s best that a roofing company does the job. However, here’s a general guide for the process:
1. Install the Eave Trim
Eave trim helps direct water away from the fascia and into the gutters.
- Measure and Cut: Measure the length of the eave and cut the eave trim to size using tin snips.
- Install Eave Trim: Secure the eave trim to the roof deck with metal screws, ensuring it overhangs the edge of the roof slightly.
2. Install the Metal Panels
Metal panels should be installed starting from the eave and working towards the ridge. Panels are typically installed from left to right or right to left, depending on prevailing winds.
- Align First Panel: Place the first panel at the eave, aligning it with the edge of the roof. Ensure it overhangs the eave trim by about 1 inch.
- Secure Panel: Attach the panel to the roof deck using metal screws with rubber washers. Place screws approximately 12-18 inches apart along the ribs of the panel.
- Overlap Panels: Each subsequent panel should overlap the previous panel by at least one rib. Ensure the overlap is tight to prevent leaks.
- Cut Panels to Fit: When you reach the end of a row or encounter an obstruction (like a vent), measure and cut the panels to fit using metal cutting shears.
3. Install the Ridge Cap
The ridge cap covers the seam where the two sides of the roof meet, providing a watertight seal.
- Measure and Cut Ridge Cap: Measure the length of the ridge and cut the ridge cap to size.
- Install Closure Strips: Place foam closure strips on either side of the ridge to seal the gaps between the ridge cap and metal panels.
- Secure Ridge Cap: Place the ridge cap over the closure strips and secure it with metal screws spaced approximately 12 inches apart.
4. Install the Flashing
Flashing is used to direct water away from areas where the roof intersects with walls, chimneys, or other protrusions.
- Measure and Cut Flashing: Measure the areas requiring flashing and cut the pieces to fit.
- Install Valley Flashing: For valleys (where two roof sections meet), lay the valley flashing down the center of the valley, securing it with metal screws.
- Install Sidewall Flashing: For areas where the roof meets a wall, install sidewall flashing, ensuring it extends up the wall by at least 4 inches. Secure it with metal screws and seal the edges with roofing sealant.
5. Install the Roof Vents
Proper ventilation is crucial for preventing moisture buildup and maintaining the longevity of your roof.
- Cut Vent Openings: Measure and mark the locations for roof vents. Cut openings using a reciprocating saw.
- Install Vents: Place the vents over the openings and secure them with metal screws. Ensure the vents are properly sealed to prevent leaks.
We’ll Install Your Metal Roof
Installing a metal roof is a labor-intensive process, but the benefits of durability, energy efficiency, and aesthetic appeal make it a worthwhile investment. By following this guide, you can ensure a successful installation that will protect your home for decades to come. However, installing metal roofing materials is easier said than done. Reach out to our team at Alamo Roofing to get professional assistance for your roofing needs.